Does your Chocolate have a bad temper?
Well, let’s show it who’s the boss!
Many people find video visuals to be helpful so I have created a step by step video tutorial for How to Temper Chocolate *links are below!
In the video below I will show you How to Temper Chocolate and explain why we do it in the first place.
So why do we do it in the first place?
Mainly tempering is implemented when we are using chocolate to en robe confections like candy and truffles
The first things to note before you begin is that you will need to use real chocolate
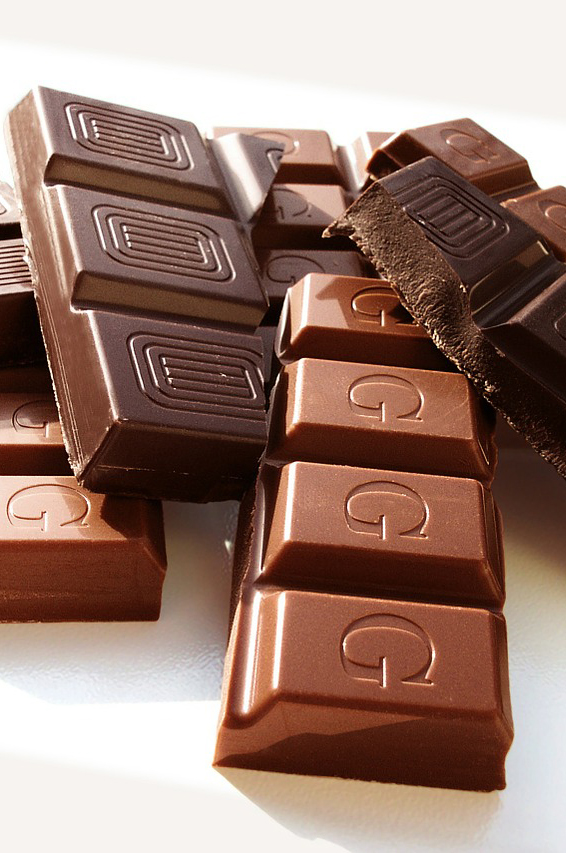
What I mean by real chocolate, also known as chocolate couverture, is that it contains cocoa butter
Many of us are only familiar with chocolate chips that we use in making cookies
Baking chips, baking chocolate, or simply “eating” chocolate can often be of very low quality and contain oils and large amounts of sugar and emulsifiers
These added ingredients are meant to prohibit melting therefore they are not meant to use as coverings for our finer pastries
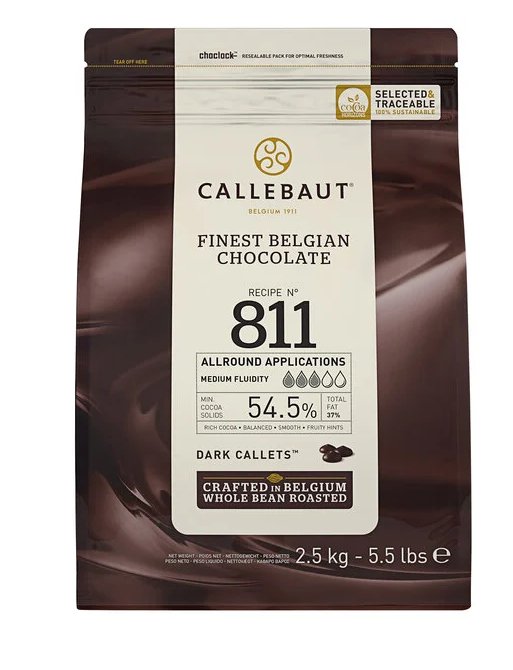
Callebaut has developed a Dairy Free Chocolate and you can get it here!
*not sponsored
Chocolate is composed of many different crystals and when we melt chocolate we have caused those crystals to become all chaotic and mismatched.
If we don’t help those crystals get back to perfect formation before it solidifies the result is a finished confection that is grainy, dull in texture it’s soft and won’t set properly
At it’s worst the chocolate can be dry and brittle and will crumble almost like dirt in your mouth! Gross!
Perhaps you have seen a melted chocolate bar in the summer and when you put it in the refrigerator to firm up again
It gets all gray and streaky looking?
That’s a perfect example of chocoalte that is out of temper, also called “bloom”
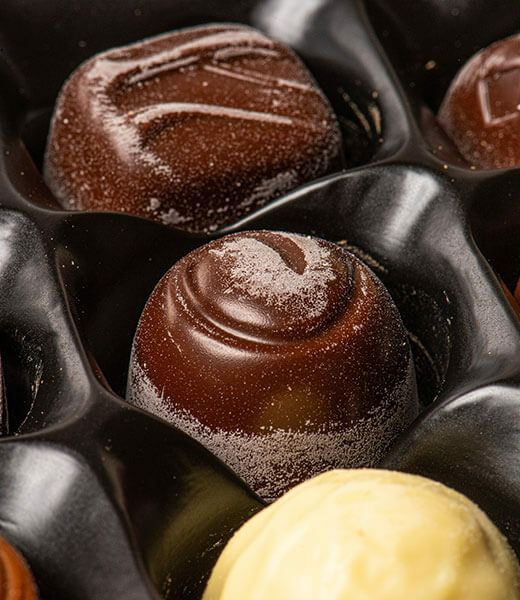
The crystals have been displaced and the whole molecular structure of the chocolate has been compromised.
Basically when we melt chocolate and then properly realign those crystal formations it is called “tempering”
The chocolate then regains it’s signature properties of shine, snap and the smooth creamy mouthfeel that we all know and love!

When using chocolate inside of recipe though, like making chocolate mousse for example
You do not need to temper the chocolate!
Tempering is only needed when you are covering your cakes, pastries and confections
This does not include making ganache!
So let’s just focus on couverture chocolate for en robing and covering
Couverture chocolate literally translates to “to cover”
There a a few different ways to go about tempering chocolate
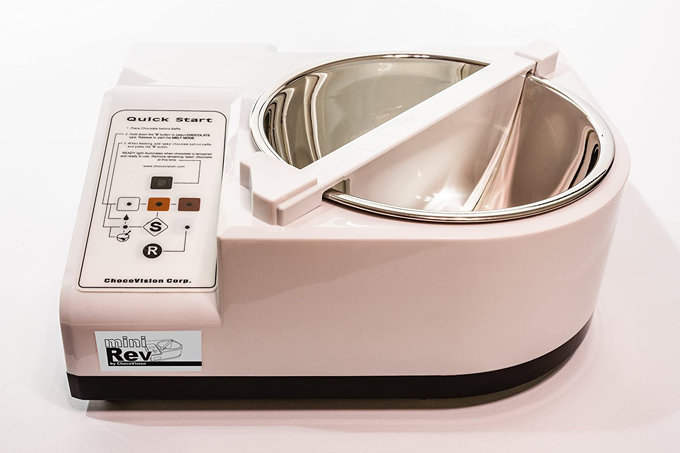
Having a tabletop tempering machine is the easiest way!*not sponsored
Since the machine will do all the work for us!
But for those who want to see just how easy it is to do it by hand and get to know all the subtle nuances of that beautiful thing we call
CHOCOLATE!
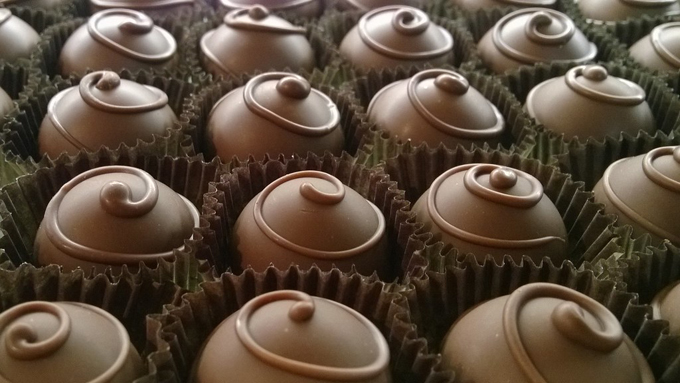
I am going to show you the Seed Method of tempering chocolate since it requires the least amount of equipment and skill
The more advanced method called “tabling chocolate” requires a marble slab, a metal scraper and some real skills!
So for now let’s look at the beginners method of tempering chocolate!
Tempering Chocolate: The SEED METHOD
You will need a medium sized (preferably) metal bowl
Instant Read Thermometer
Plastic spatula
Small metal spatula or butter knife
For those of us who do no want to get involved in the process of tempering chocolate
You can purchase what is called “summer coating” or Non-Tempering Chocolate”
I commonly use King David Brand *not sponsored
CLICK HERE TO WATCH THE STEP BY STEP VIDEO TUTORIAL FOR HOW TO TEMPER CHOCOLATE
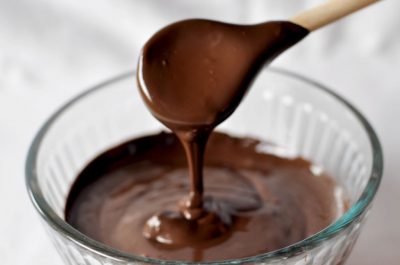
The temperatures shown in the video and listed below are for Unsweetened, Semi- Sweet or Dark Chocolates.
1. The first step is to melt about 1 lb (454g) chocolate couverture in a clean, dry bowl set over simmering water, to about 115º-120º F (46º-49ºC.)
2. Remove the entire bowl from heat and let it cool to about 86°F Next add about 6 more ounces (or approximately 1/3) of couverture that is IN TEMPER to the melted chocolate.
This provides insurance by ‘seeding’ the melted chocolate with good beta crystals.
While cooling, stir frequently. The motion causes the good beta crystals to smash into to the out of whack crystals and they bond together and morph into Good Betas!
3. The last step is the most important: It’s bringing the chocolate up to the perfect temperature, where it’s chock-full of those great beta crystals.
This occurs in most chocolates between 88° and 91° F (31º-32ºC.)
4. Remove what’s left , if any of the ‘seed’ chocolate and reserve that for another use later.
Now your chocolate is ready to dip or decorate!
Don’t let the chocolate you are working with get above 91° F (32ºC) or you’ll have to begin the process all over again.
If it drops below temperature as you are working (as it often will) rewarm it gently to bring it back up.

Do you have any instructions for making chocolate from scratch (using cacao pulp in discs and cacao butter) and then tempering it.
No I’m sorry I do not
Hi Gretchen,
Are we able to store unused tempered chocolate? Do we just simply bring it back up to tempered with the seed method? Do you still recommend the microwave method for tempering? Thank you for all your amazing recipes and help.
Dear Gretchen,
Thanks to your easy to follow instructions, I have for the first time successfully managed to temper chocolate: https://vegantina.blog/2020/11/29/vegane-pralinen-selbstgemacht/. Never thought it would be that easy. Thank you so much for sharing your knowledge!
first time ever successfully tempering chocolate, u explain it so well feel like other tutorials were so confusing. THANK YOU