Yeah Baby Yeah!
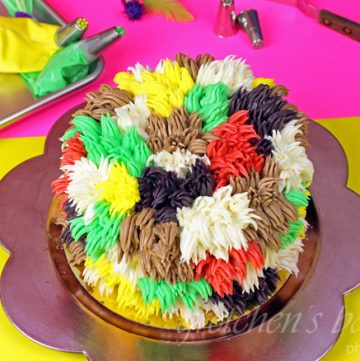
The 1970’s called and they want their shag carpet back!
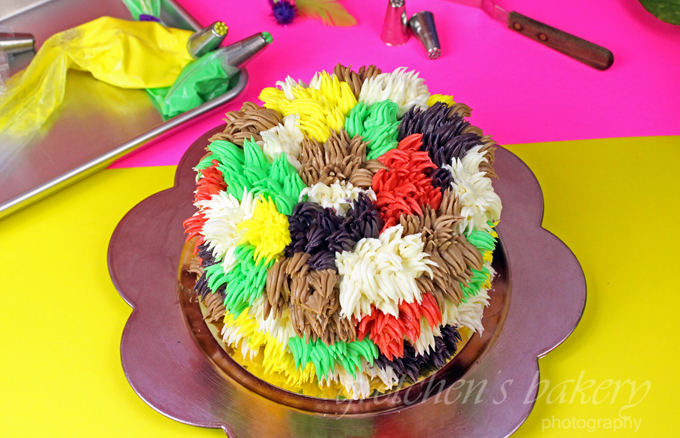
I love everything about the 1970’s so this cake is right up my alley!
Introducing The Cake That Shagged Me!
I just love being so incredibly cheesy with everything about this shag cake!
So get that disco music playing and let’s make a Shag Cake for a retro spin and a major win!
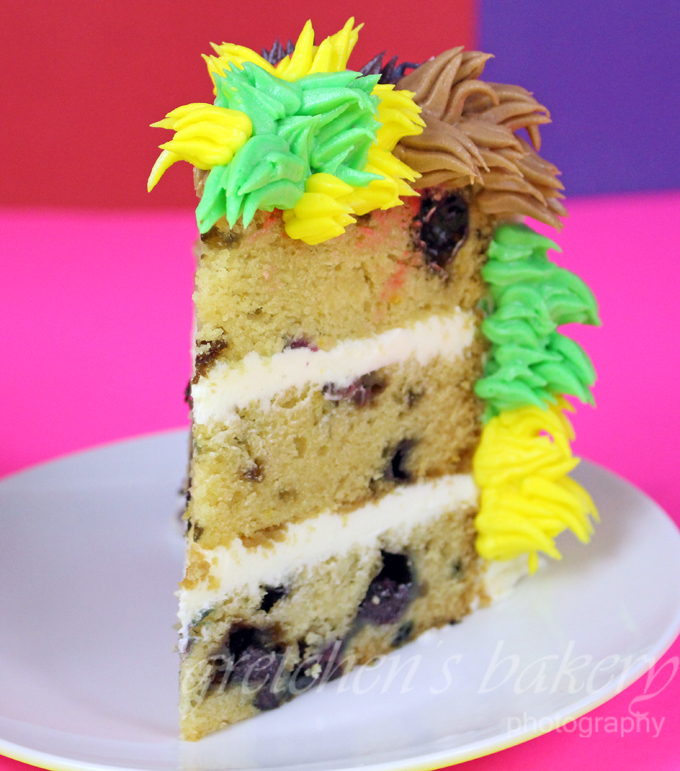
With a new recipe for Lemon Blueberry Pound Cake for the layers, this cake is hot!
Ok, “I’m not saying it’s hot but….”
You gotta love Austin Powers and to me this cake just screams FUN!
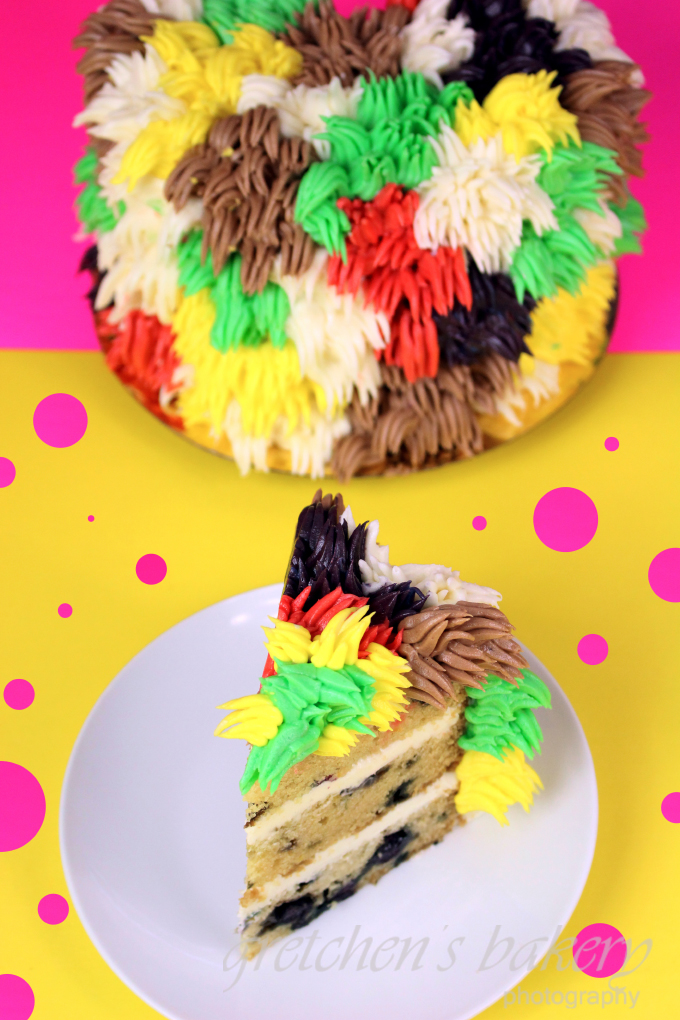
There is a hefty amount of buttercream needed to ice this cake to make all that shaggy carpet love from my most beloved years.
A sturdy recipe for buttercream is also a must here so be sure to make the American Style Buttercream recipe instead of a Swiss or Italian Meringue style buttercream this time.
You will also need a few grass tips and some disposable pastry bags to make your life easier on the decorating part of this project.
I used six of each.
First decide how many colors you want your shag carpet cake to be, so you can know how many tips and bags you will need.
So if you don’t mind having an excess of grass tips on hand after this cake is finished, you are good to go!
Robin has a good article here on Vegan Food Colors.
This cake is so easy and so much fun to make with minimal effort!
If you watch the video tutorial you will notice that I put some winter gloves on mid way through piping all my shag.
I have really hot hands to begin with, so all this piping was getting everything really hot and drippy really fast!
A good tip for when you have a heavy decorating job is to put on some gardening gloves, dish gloves or winter gloves do just fine.
This keeps the heat from your hands off the pastry bag and the icing inside won’t melt!
CLICK HERE FOR FULL VIDEO TUTORIAL ON YOUTUBE

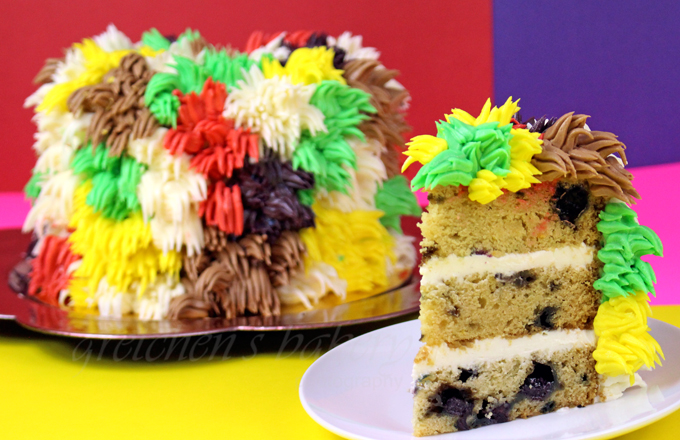
Of course you can use your favorite cake recipe you like the most; it doesn’t have to be my Lemon Blueberry Pound Cake recipe!
I have about a zillion cake recipes here on my blog for you to choose from and any of them would work great here!
I have adjusted the recipe below for the Lemon Blueberry Pound Cake to make 4-7″ Layers (I only used 3 though!).
It would also make 3- perfect 8″ layers or even 2- 9″ Layers if you have those sizes which seem to be more popular cake sizes.
I’m just stuck on 7″ cakes from my bakery days!
Really whatever pan size you want to use would work fine, just be sure to fill the batter no more than half way full in a greased and parchment lined cake pan to give it room to grow!
Believe me this cake will grow to double so don’t over fill!
To make the mock buttermilk you will combine the acid -typically lemon juice or vinegar- with the soy milk and let it stand to thicken for about 5 minutes before using in your recipe. Soy milk is the only plant milk that will thicken like a real buttermilk, so if you cannot use soy you CAN substitute another plant milk but it will not thicken up
- For the Lemon Blueberry Pound Cake Layers:
- Soy Milk 1½ cups (355ml)
- Lemon Juice 3 Tablespoons (90ml)
- Coconut or Vegetable Oil ½ cup (118ml)
- Vanilla Extract 2 teaspoons
- Lemon Zest from 2 lemons (approx 3-4 teaspoons zest)
- Vegan Butter 1 stick (8 Tablespoons) (113g)
- All Purpose Flour 3 cups (375g)
- Granulated Sugar 1¾ cups (275g)
- Baking Soda 2 teaspoons
- Salt 1 teaspoon
- Blueberries 2 cups
- 1 Recipe American Style Buttercream
- First prepare your cake pans with professional bakery pan grease & parchment lining.
- Preheat your oven to 350°F
- Melt the vegan butter and reserve
- Combine the soy milk with the lemon juice *see note above and then add the vanilla extract.
- In a large mixing bowl combine the flour, sugar, baking soda, salt and the lemon zest and whisk together to incorporate all the ingredients well.
- Add the liquids, the mock buttermilk, vanilla and the melted vegan butter and oil and whisk smooth.
- Fold in the blueberries and then divide the batter evenly between your prepared pans.
- Bake in a preheated 350°F oven for 30-35 minutes for the 7" layers. If your layers are larger, that would mean the batter is thinner and you will bake for several minutes less at the same temperature.
No matter what size pan I am making I always check my cake layers at about 20 minutes anyway just to see how they are doing so I can get a gauge on how much longer they need from there.- While the cakes are baking you will prepare the American Style Buttercream as per the instructions on that page.
- Color it as desired and get your disposable pastry bags with the grass tips inserted ready to go.
- Decorate cake as shown in the YouTube video linked above!! OR CLICK HERE FOR FULL TUTORIAL!
Hot humid temps will cause the cake to droop from the heavy decor.
For longer storage - up to 1 week- keep refrigerated wrapped airtight to prevent staling

Hi Gretchen,
Could I make 3/4 of this recipe to get 3 7 inch cake layers? I’m just not sure what to do with the fourth layer and don’t want it to go to waste.
Yes I understand, just be really careful with your math. Sometimes I think it’s just better to make a few cupcakes or just bake the 4th layer, instead of try to work out the math properly.
Ok thank you!