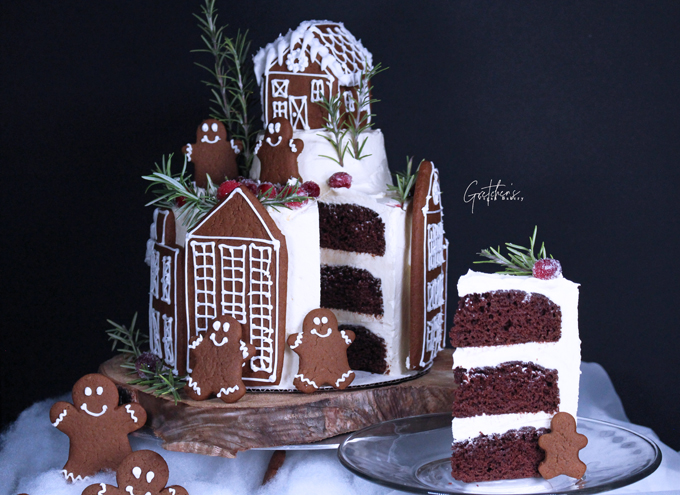
This Gingerbread Village Cake is not so much of a new recipe as it is a new cake decorating project!
It’s the decor not exactly the cake that is the star of the show today!
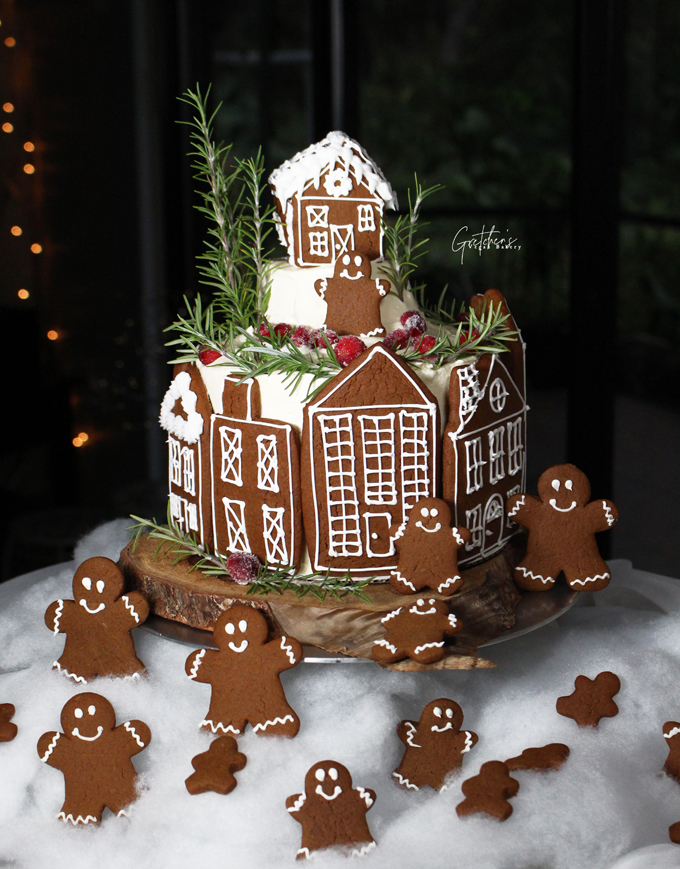
So bake up your favorite cake and the filling you love the most and let’s get started!
Of course I went with Chocolate Cake because, umm Chocolate!
Keeping it simple with vanilla buttercream for the filling and icing
However there are endless combinations for cakes, fillings and icings here on my website
CLICK HERE FOR CAKE RECIPE ARCHIVES
CLICK HERE FOR FILLINGS & ICINGS ARCHIVES
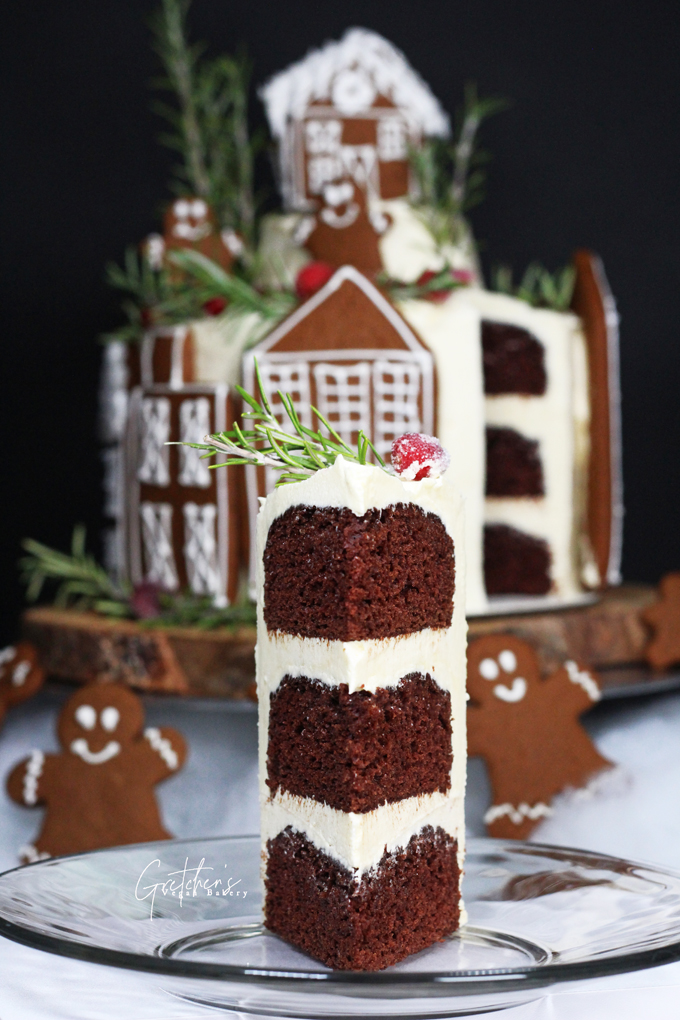
In order to decorate a cake of this caliber you will have to plan a little bit ahead.
But you do not need a single special tool except for the gingerbread cookie cutters!
The gingerbread village is something you can get started on a more than a week ahead of time!
My recipe for gingerbread dough is the best for cut outs and houses because it doesn’t spread
The cookies are soft and chewy on the inside but very sturdy on the outside
NOTE: Rather than using the royal icing recipe from the gingerbread cookies page
Be sure to use the recipe for SPRINKLES Instead!
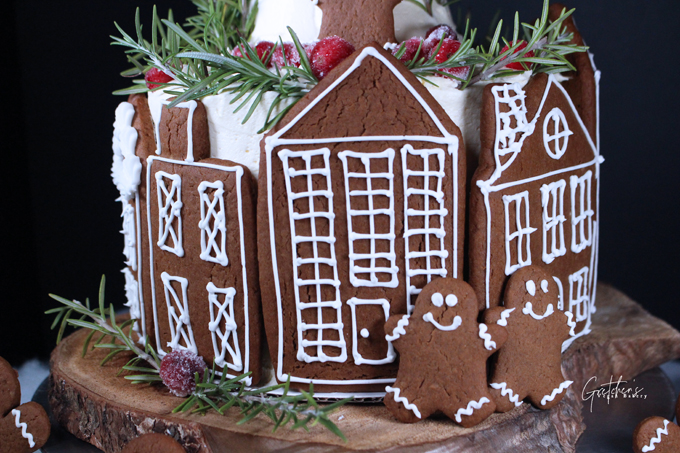
Fresh cut rosemary for the trees and candied cranberries make another appearance!
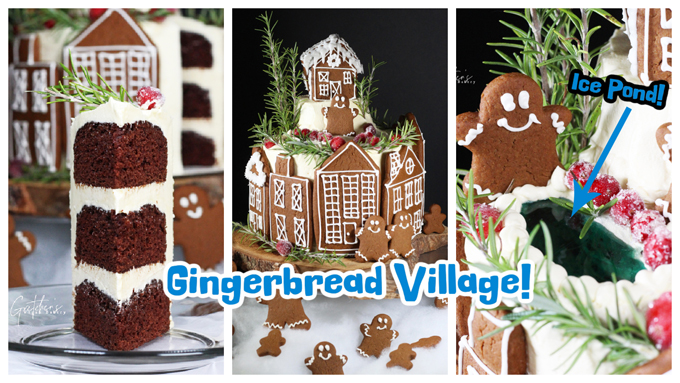
The ice skating lake is a simple agar concoction and is totally optional!
But how adorable?
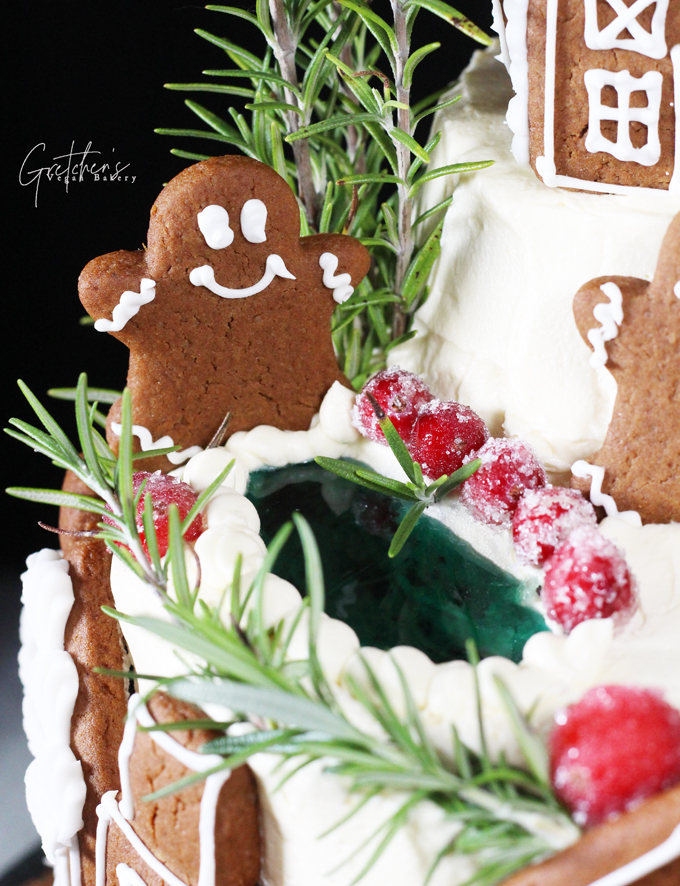
So crank up your favorite holiday music and soon you will have a Gingerbread Village Cake that is almost too cute to eat!
CHECK OUT THE FULL YOUTUBE VIDEO TUTORIAL FOR HOW TO MAKE THIS CAKE!
- 1 Recipe Chocolate Cake
- OR 1 Box Hack Recipe
- 1 Recipe Best Vegan Buttercream
- 1 Recipe Candied Cranberries ~ instructions & recipe here
- Fresh Rosemary Sprigs as needed
- For the Agar Pond:
- Agar Powder ¼
- Granulated Sugar ¼ cup (50g)
- Water 1 cup (237ml)
- Food color as needed *I used blue & yellow to make a greenish pond color
- 1 Recipe Gingerbread Dough
- 1 Recipe Sprinkles for the Royal Icing
- Prepare your recipes as per the instructions on those recipe posts
- The gingerbread dough can be prepared a week in advance and even baked and decorated!
- Just keep the cookies in a humid-free room that is cool & dry to keep fresh, they will stay fresh for several weeks this way!
- Bake the cake batter into 3-7" cake pans & 1-4" cake pan
- Assemble the cake as shown in the video tutorial
- Do not prepare the agar solution until the cake has been built and chilled with your "pond" excavated! LOL *see video
- Combine the agar, water, sugar & food color together in a small sauce pot and bring to a boil over high heat stirring constantly
- Once it boils allow it to cool to tepid, but not so it is starting to set, them pour a small amount into the "pond" section of your cake

Leave a Reply